Mfr Part # SC0073
SBC 1.4GHZ 4 CORE 1GB RAM
Raspberry Pi
License: See Original Project Raspberry Pi SBC
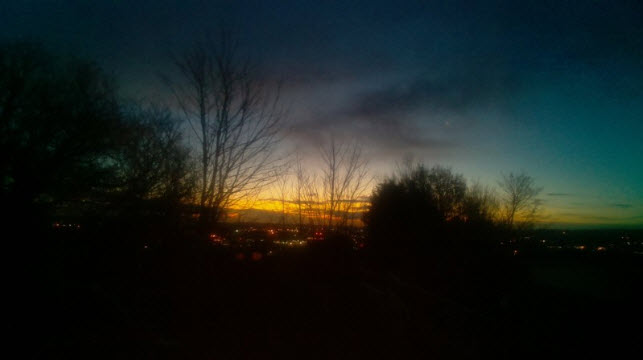
All Sky cameras take pictures of the sky during the day or at night to capture a complete view of the sky to reveal the motion of stars, auroras, meteor showers, satellite movements, and more. When the correct type of camera is used, a 180° view of the sky is possible. This information can be used by amateur and professional astronomers alike and can serve as a fascinating introduction to astronomy.
All sky image showing a meteor, by Michael L. Umbricht / Ladd Observatory. Source: Wikimedia.
You can learn how to build your own Raspberry Pi All Sky camera with readily available components and software. This article goes over the parts, setup, enclosure, and testing.
How Can I Make My Own Using Raspberry Pi?
Below is a basic list of the equipment and software you will need to create a basic All Sky camera:
Hardware
Basic hardware that you will need for the circuitry:
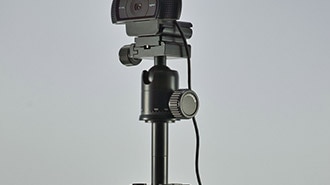
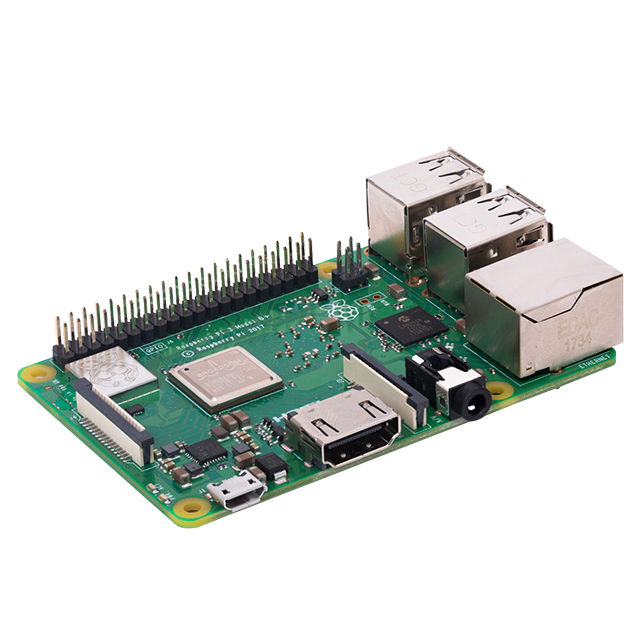
Raspberry Pi 4 or Raspberry Pi 3B+ (this project uses the 3B+) with a protective case
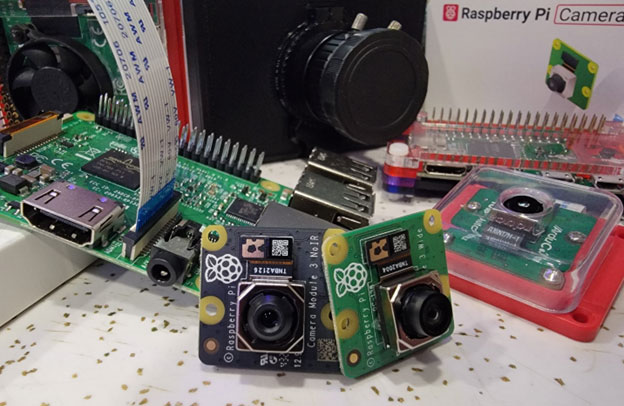
Raspberry Pi Camera Module or a suitable USB camera with a fish-eye lens
MicroSD Card (at least 16GB)
Software
Only two types of software are needed: the Raspberry Pi OS and the All Sky camera software, AllSky.
Enclosure
The basics of the enclosure are composed of:
A waterproof box or similar enclosure to hold the Raspberry Pi—this is not the same as the enclosure that can be bought to protect the Raspberry Pi.
A clear dome or similar waterproof housing to go over the camera, along with the necessary fasteners to secure it to the enclosure
A small package of silica desiccant (optional) to absorb moisture within the dome
A Dremel tool or small drill to make necessary openings within the enclosure
Hook and loop tape to secure the Raspberry Pi within the All Sky enclosure
Note that the enclosure must also be of sufficient size for the clear dome to rest upon it and over the camera.
Setup the Raspberry Pi
Flash Raspberry Pi OS onto the microSD card using Raspberry Pi Imager. You will choose your device, operating system, and the type of storage you are using.
Basic setup used for this project.
You will see the option customization screen appear. Select Edit Settings and go to the Options tab. Make sure the only checked box is Play Sound when finished.
Customization settings.
If your computer has problems when the verification step starts, restart the installer, and click CANCEL when verification starts.
Once the SD card is ready, place it in the Raspberry Pi. Plug the adapter into the wall and boot the Raspberry Pi. Note you will need a keyboard and a screen to work with the RP, so get those connected and connect your camera before starting. Once the operating system loads and the GUI is displayed on the screen, download any needed updates.
Installing the AllSky Software
Next, install AllSky software. Start by going here https://github.com/AllskyTeam/allsky and reading the documentation here. Once you have reviewed the basic documentation, go to the command line and type:
sudo apt-get install git
After that process has finished, enter this at the command line.
cd
git clone --recursive https://github.com/AllskyTeam/allsky.git
cd allsky
./install.sh
This will start the AllSky installer. You must have your camera installed before the installation. Follow the prompts on the screen. Notice that you will need to enter the latitude and longitude of where you are located. This can be obtained via a quick Google search. After this, you will be prompted to reboot your system. There will be a message that says you need to update your camera settings using ‘AllSky Settings’ in the WebUI. You may also need to update config.sh and ftp-settings.sh
After the reboot, go to the WebUI by going to “http://allsky.local” or “http://allsky.localhost” in a web browser using the Raspberry Pi. The default username is “admin” and the default password is “secret”.
From there, go to AllSky settings.
Setting Up AllSky
To schedule the software to start automatically on boot, go to the command line bash and enter this code:
sudo crontab -e
@reboot /home/pi/allsky/allsky.sh
You can monitor performance by accessing the camera remotely via SSH or VNC.
There are many different settings that can be adjusted to obtain excellent image quality. A sample of these are shown below. These include exposure, brightness control, white balance, shutter speed, and some additional features that may be AllSky software specific.
The settings screen for AllSky.
Exposure Settings
Here are the most common exposure settings and what they mean:
Manual Exposure: supports better control over how much light the camera gathers. This is especially useful for obtaining images of faint objects such as stars.
Automatic Exposure: automatically adjusts the exposure based on the camera’s environment, which accounts for changes during the day or night. There are also limits you can set on automatic exposure to keep it from over-adjusting.
Exposure Time: this can be set in terms of seconds of exposure. Just be aware that the longer the exposure, the greater the possibility of moving objects being blurred.
Brightness Control
Brightness control is another key parameter in obtaining clear, high-quality images of the sky.
Gain: adjusts how much the camera signal is amplified. High gain = more sensitive to light but introduces more noise.
Gamma Correction: adjusts the brightness and contrast of the image. To make dark areas of the image brighter without overexposing the lighter parts.
Brightness Adjustments: fine-tunes the brightness of the final image for well-balanced light and dark images.
White Balance
White balance works to ensure colors are accurately rendered. This can be set manually or automatically and is especially important to account for a sky with a color cast.
Day/Night Profiles
AllSky supports the creation of separate profiles for day and night using the settings just discussed. Night images, for example, may require a longer exposure if you want to capture the path of meteors or stars, whereas a shorter exposure is best for daytime.
Shutter Speed (for HQ Camera Modules)
If you have a Raspberry Pi HQ Camera, additional control may be possible over the shutter speed. Shutter speed relates to how fast the camera captures the image.
Software-Specific Adjustments for AllSky
AllSky software makes it possible to adjust settings for how often an image of the sky is taken and can adjust the exposure as needed. It also provides noise reduction, which can be crucial to obtaining a quality image of the sky.
Building the Enclosure
The standard enclosure for a Raspberry Pi is approximately 3.5x2.25x1 in, and it is recommended that this enclosure be used along with the waterproof enclosure. It can be attached to the waterproof enclosure with hook and loop tape, making it easy to remove the Raspberry Pi as needed.
The Raspberry Pi enclosure with the camera included.
To assemble the enclosure, mount the camera inside the clear dome or waterproof housing. You will need a slit for the camera ribbon to pass through to the Raspberry Pi board. Keep in mind that the slit for the enclosure will be to the side of the camera. Ensure the dome is clean and free of scratches for clear images, and add desiccant packs inside the enclosure to prevent fogging. Next, seal the housing to protect against moisture and dirt. Do not forget that the housing must also be stable to ensure no movement in the photos.
Camera dome.
Testing the System
The camera should be positioned where a clear view of the sky can be obtained. Once the enclosure has been placed and stabilized, test the camera. This can be done through AllSky's web GUI. Next, you can obtain a live view through your camera in the AllSky web GUI, and from there start making adjustments to key parameters that will improve image quality. If there is a message about the RPi command not being found, simply unplug the camera, turn off the Raspberry Pi, then plug the camera back in and restart it.
Finding Your Images
The photo below shows the path to the images, which are placed in files labeled by date. These images can easily be copied to a flash drive or shared file system such as Google Drive, OneDrive, or Dropbox. If desired, they can also be shared with the AllSky project.
The path for locating the images.
Is There Anything Else I Can Use an All Sky Camera For?
All Sky cameras are a great way to monitor the movement of clouds, observe the effects of light pollution on the night sky, and capture rare celestial events. It can also be used as a wildlife camera or to create artistic imagery that includes elements of the sky.
Conclusion
Capturing incredible images of the sky and nightscape is easy to do without many parts needed. With a Raspberry Pi, a good-quality USB or RPi camera, and the right software, you can begin adding amazing sky photos to your photo albums.